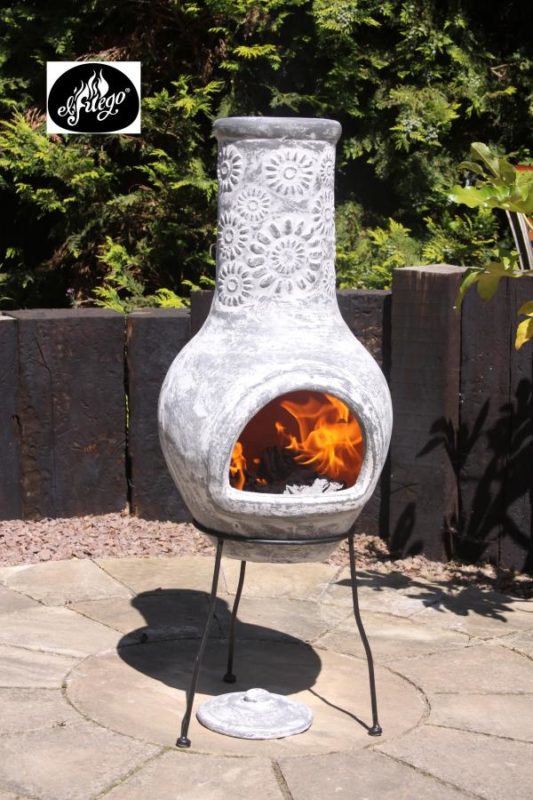
Chiminea, Chiminea advice
How to mend a clay chiminea
May
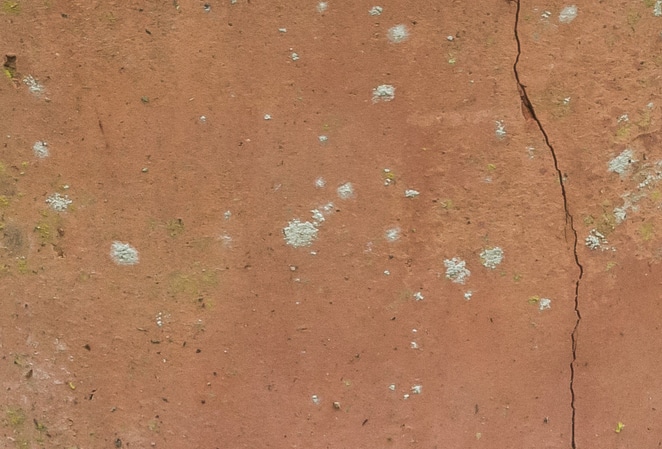
If your clay chiminea is cracked, not completely broken into bits, there’s a reasonably easy way to repair it. This post explores how to mend a clay chiminea when it has cracked through heat stress, in the frost, or through being hit or dropped.
Can I mend a totally broken clay chimenea?
Despite being designed to withstand heat, some chimineas crack over time. Chims made from special Chimalin AFC clay are much better at resisting thermal cracking than traditional clay. They have a five year guarantee against damage through heat stress or frost.
If your clay chiminea has actually broken in two or into more than two chunks, you’ll probably have to bite the bullet. It’s time to consider it broken and, if you can, use the pieces for something else. They might make lovely primitive-looking planters if you’re lucky, making good use of the separate chimney and body.
How to mend a cracked clay chiminea
Assuming your chim has suffered a crack, whether it’s small or something more nasty, it’s well worth a go mending it. The materials are readily available and while it takes a bit of skill around making the mend neat, most people can make a good enough job of it for rock ‘n’ roll.
If you manage to bash yours or drop it, it could just as easily crack. But again, as long as it’s a crack rather than a full break, it can be repaired. Here’s how to do it.
First, sand the outside of the cracked area using a medium grit sandpaper. Because the clay is low-fired the surface is sandable. Apply a light pressure and keep on sanding until the crack feels perfectly smooth.
If your chiminea is painted, sand all of the paint away to leave bare clay. Otherwise the adhesive you use to mend the crack will stick to the paint itself, and will peel off when you fire up the chiminea.
If you need to clamp any of the pieces together before applying the glue, to keep them in place, this is the time to do it.
Next, grab some ordinary car repair putty. You can also use a special high temperature epoxy adhesive, available in most good DIY stores as well as online. Just make sure you apply enough of it to the crack so it sticks up, leaving a 3d ridge you can feel with your fingers. Then let the putty or adhesive go completely dry. Usually it changes colour, going lighter as it dries, so it’s easy to tell. It needs to be perfectly dry to the touch.
Do the same to the inside of the chiminea if the crack goes right through the clay.
Back to the sandpaper! Sand the surface of the dry glue or putty with medium grit sandpaper until it is level with the surface of the chiminea, so you can barely feel it.
Last, paint the exterior of the chiminea using more or less any kind of paint. The best types of paint tend to be masonry paint, household emulsion, or chalk paint. You should be able to colour-match paint to blend in with the rest of the chiminea but you might want to repaint the whole thing in a shade close to the original colour, or pick another shade altogether.
Finally, finish off with a layer of tough, clear exterior varnish to seal everything.
Testing, testing… is the chiminea mended?
It’s probably best to leave things for a couple of weeks to make certain there’s no damp left in the clay itself, the adhesive or putty, the paint, and the varnish. If the weather has been very wet, making the air damp even when it isn’t raining, leave it to dry for longer. Once everything has dried out 100%, you can light a test fire to see if your repair has worked.
Start a small, neat fire in your repaired chim. Gradually add fuel. If your repair has done the job your chiminea will work perfectly, just like before it cracked. If not it could either re-crack or leak smoke. There’s a good chance it’ll work, giving your chim a new lease of life. If not, at least you tried – if so, it’s time for some fun… time for a new chiminea!