
Chiminea
How to move a clay chiminea
May
Here’s another post from our friends down in Devon. This one looks at how to move a clay chiminea.
A few weeks ago we took delivery of a beautiful new Mexican clay chimenea. The first spot we chose for it, at the front of the house on a secluded patio enclosed by two house walls and a garden wall, turned out to be too small. The chim heats up to a seriously high temperature, leaving people a bit too hot for comfort! So we decided to move it to another of the places place we naturally gravitate to relax, down at the bottom of the garden in a tiny copse of trees.
Here’s a run-down of how it went, our picture guide to how to move a clay chiminea.
How to pick up a heavy chiminea
This was not a job for one person! The Mexican clay chimineas sold by Garden Leisure are made from really thick clay, around 2.5cm thick. They’re created that way to last a long time and give off the level of heat you need for the not-always-so-great British weather.
This chiminea has survived a long journey by sea, thousands of miles, all the way from Mexico without any problems. It’s a tough cookie. But we didn’t want to risk breaking it, since while terracotta clay is incredibly strong, it doesn’t like shocks. In the same way as dropping a terracotta plant pot onto a hard surface, the results would not be good.
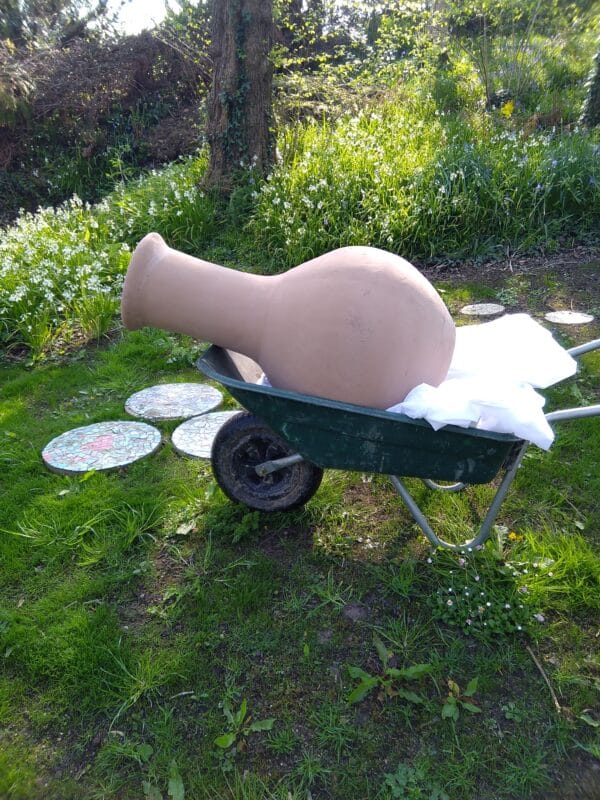
An expert suggested we carry it with one person at the chimney end, with their arm inside the chimney, and the other person supporting the fat belly. It’s clearly a good way to carry a chiminea but being short people, we struggled with it! So, rather than risk dropping and breaking the chim, we decided to fetch a wheelbarrow.
We have two barrows, an ancient metal one and a newer plastic one. The metal one felt too rigid so we went for the plastic barrow. We lined the barrow with a load of fleece we keep in the garage for protecting plants against frost. We’re in a frost pocket here so we’ve got plenty of fleece and tarps lying around. Failing that, we could have used a sleeping bag or duvet, but the fleece worked really well, nice and soft and thick.
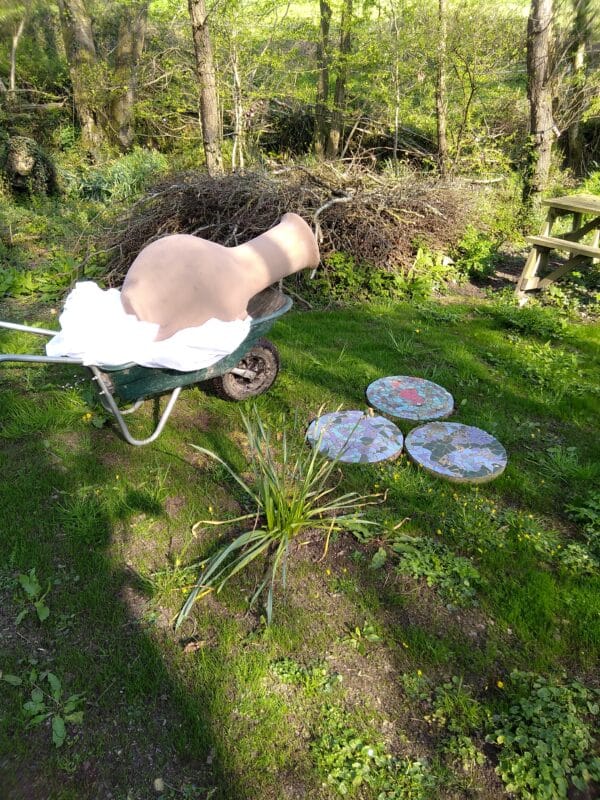
One of us did the driving, walking forwards, the other hung onto the chimney part of the chimenea and made sure it stayed firm inside the wheelbarrow, walking backwards. We took it very slowly! It was actually pretty simple, we just took it nice and easy over the lumps and bumps on the floor of the glade, and avoided the little stepping stones, which stand slightly proud of the ground, so we didn’t cause any scary bouncing. Slow and steady was the best way.
How to move a clay chiminea – The base
The bottom of the garden can get very soggy in winter when it’s wet, thanks to the clay-rich ground. So we used three concrete stepping stones to create a base for the chiminea. We mosaiced them many years ago and they still look pretty good. We set them flat into the ground 2.5cm proud of the surface so they will stand well above the mud in winter.
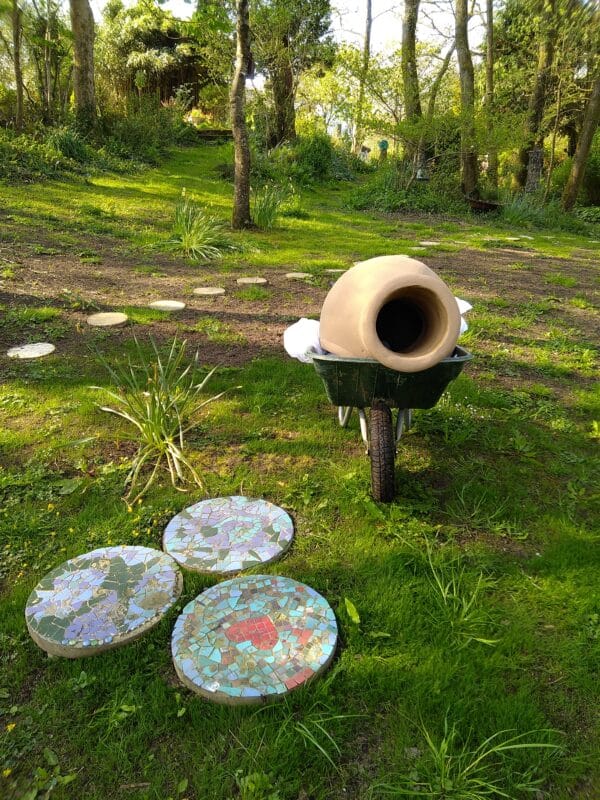

Both of us lifted the chiminea very carefully out of the wheelbarrow, one at either end, and manoeuvred it slowly into position. We’ve placed it so the mouth is facing the seating area, with lots of room all around it for us and our guests to stand and sit.
Because the metal stand has three legs, basically a tripod, it always stands firm. There’s no worrying wobbling or scary swaying.
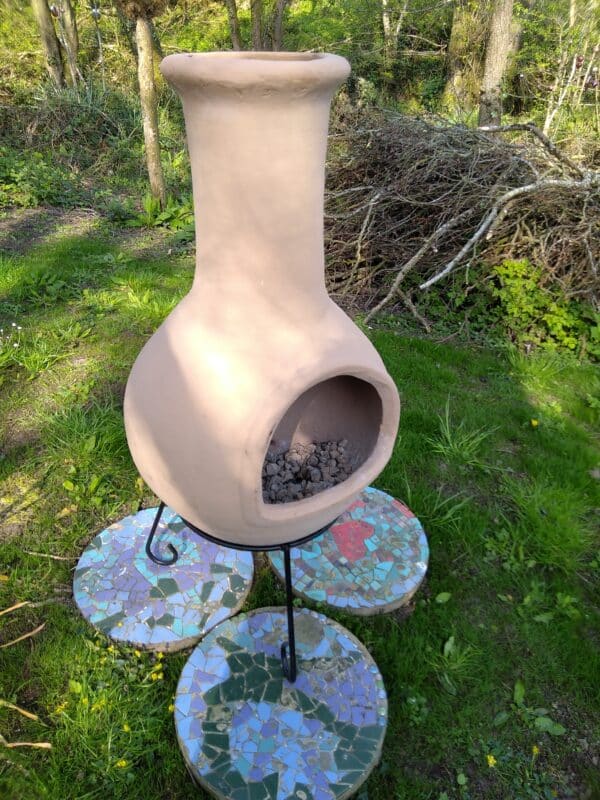
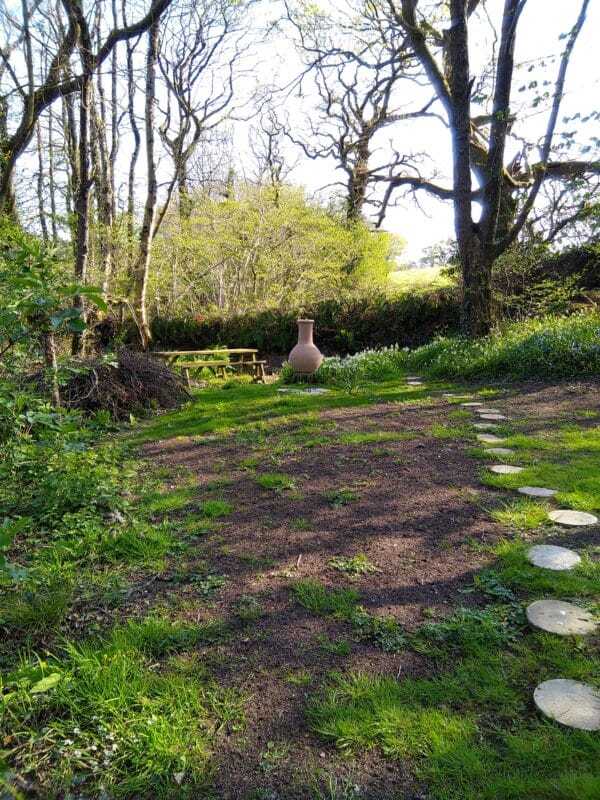

Here she is… isn’t it a gorgeous thing? The rain lid is on, the belly’s full of lava stones, we’ve seasoned it – you can read the post and see the photos if you like – and we’re ready for the first proper light-up. The weather’s looking good so we’re going to test-drive some chim cooking next, see how we get along. Come back soon to find out how it goes!
